Wednesday, May 14, 2014

Metamorphosis Animation


The  METAMORPHOSIS Animation project was all about transformation physically through digital, stop and computer animation. Our group used stop and computer animation to create a bullying film. Our story was about a boy named Mike being bullied by kids at school and all he wants is to be free from all the insults. So in a library Mike draws himself being bullied and when he leaves his drawing comes alive.  So after Mike leaves the bullies in the book laugh at him so we decided to turn Mike into a bird because he wants to be free. But since we did the whole stop motion part in a library we made the bird fly into a book store representing the library we filmed in. Thats when he transforms back to a human again. After that Mike comes back and rips out the bulling page that he drew and decides to take action.

Characters/Sets/Props [Team 1 Evaluation]

Room for Improvement417%
Meets Requirements1878%
Above & Beyond!14%

Creativity/Originality/Execution [Team 1 Evaluation]

Room for Improvement1148%
Meets Requirements730%
Above & Beyond!522%

Friday, April 11, 2014

Words of Wisdom


Our project was on Gino Quintana a soccer coach who encourages intelligence. We made our project by organizing and planing individual parts to our team and completing them before the due date. we did however do a lot of the project together like the interview and the editing. I think the only thing that was shot by only one of us was the B-roll. I think this is important because now the world needs more complex thinkers and educated people to solve world problems.  

Monday, March 31, 2014

Three Shot Sequences

        The shot types are usually Wide, medium, and close like the video at the top. The basics of a sequence shot in normally wide to set a scene, medium to get some information on whats going on and close to show the details of the shot. Three shot sequences are important because they are used for interest in a video to keep the viewer engaged. It also helps the viewer know a little bit more and understand what is going on in the shot.

Thursday, March 27, 2014

Polar Panoramas


Steps to a Polar Panorama

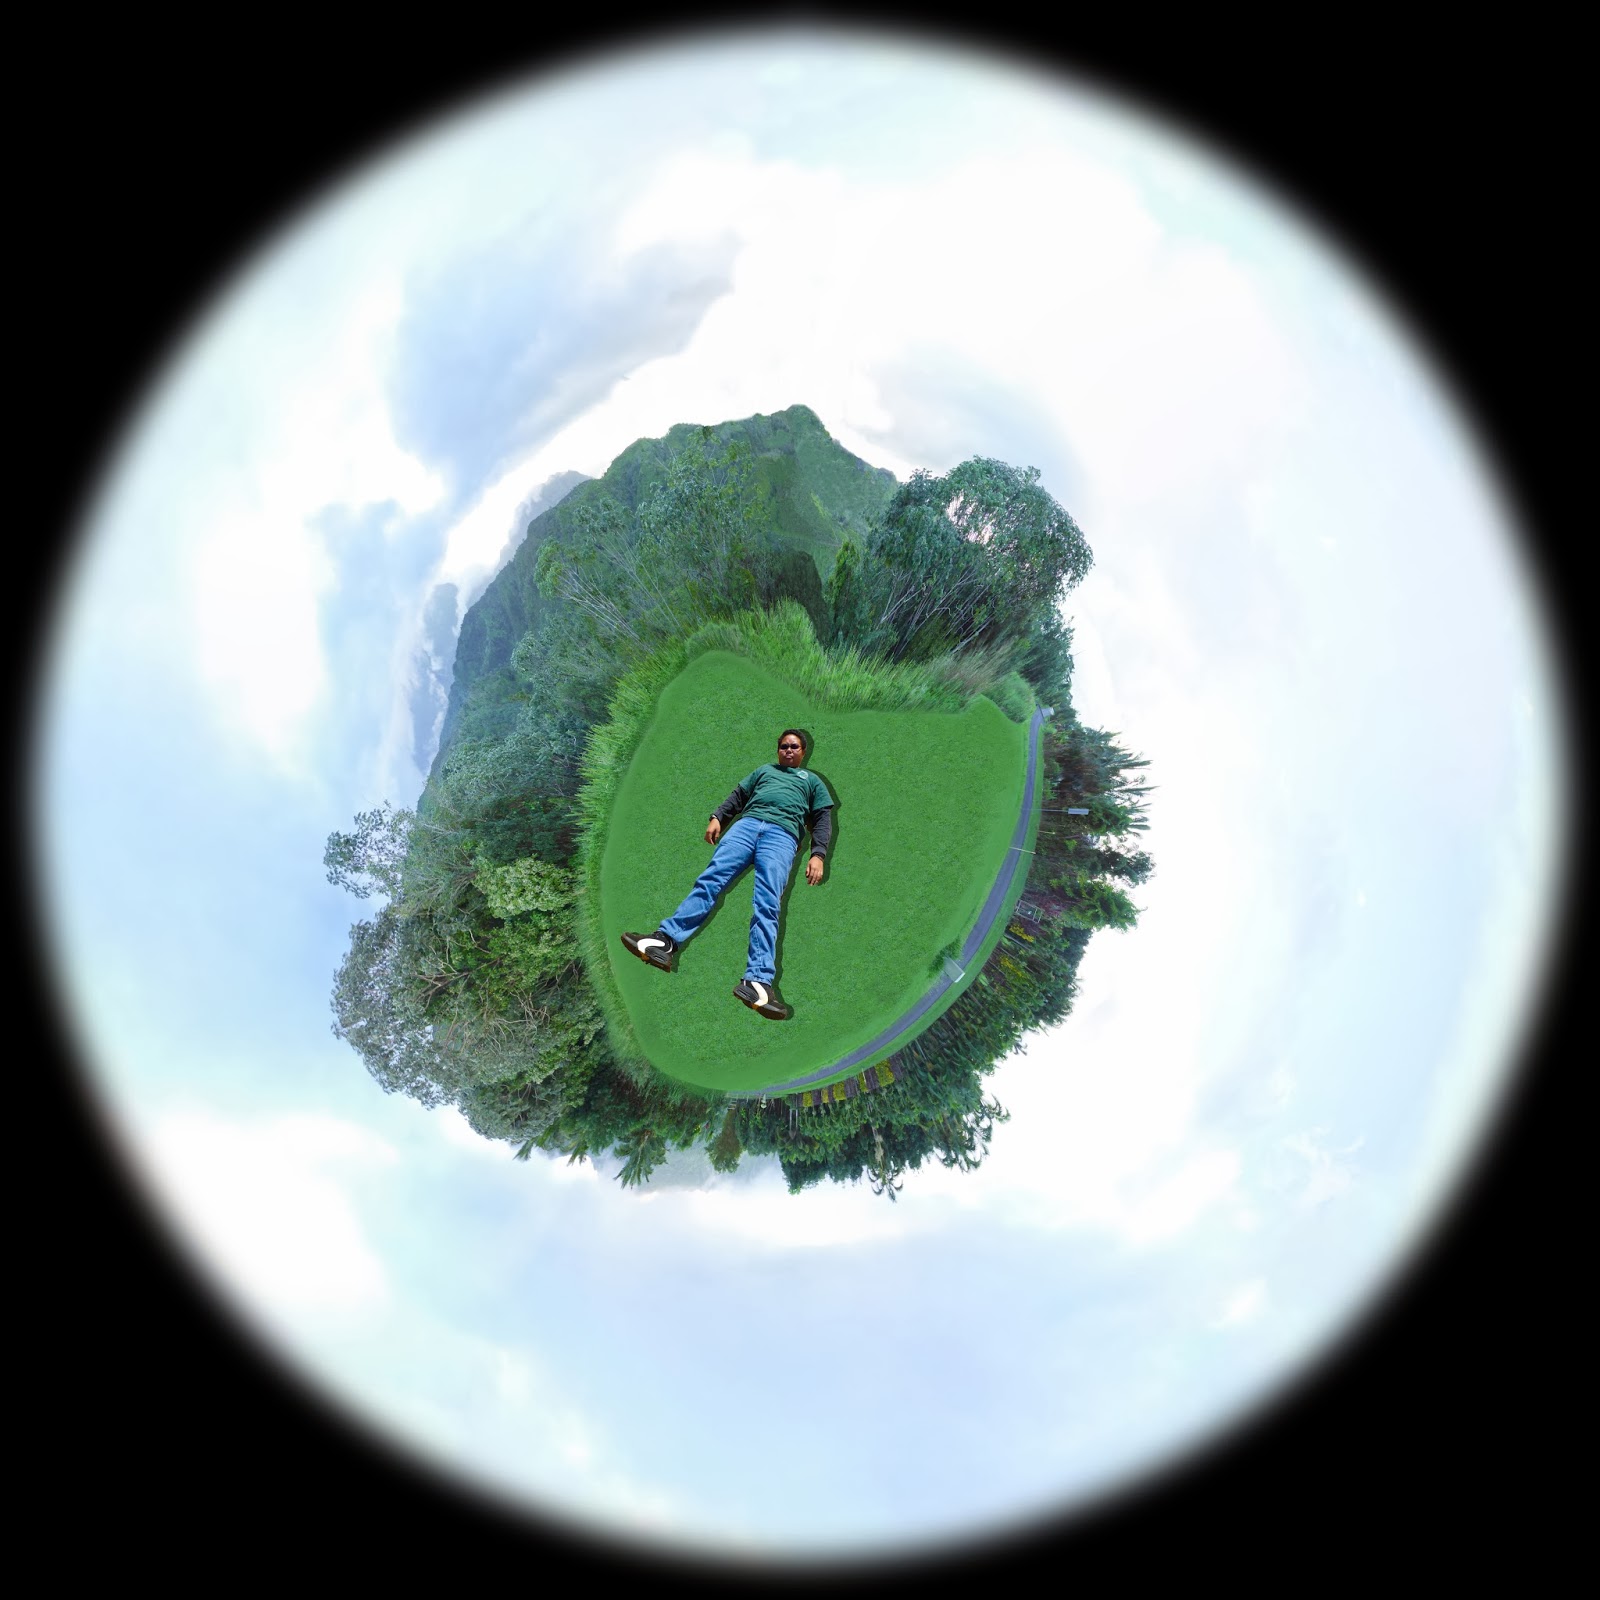
These are my two best polar panoramas. I created them by using Photoshop and Adobe Bridge like how i did the spheres. The steps are simple just follow the ones below. For more detailed steps click the link above.
1. Go to a place that's to your liking and take ten or more vertical shots of it with a minimum of 15% overlap on each image.
2. Then prepare the image for the Polar filter by first using Adobe Bridge to adjust your image to your liking.
3. Then to prepare the image rotate the image 180 degrees so that it’s upside down when you look at it.
4. Then to edit it use the polar filter to distort the image or images you took.
5. Then rotate the image to your liking.
6. Once you are done with that clean up the image and you are set.

Magazine Cover


This is my finished magazine cover I did in the fall of 2013 from my GT class at Kapaa Middle School. I used a digital camera and photoshop to take the pictures and edit them to create this final product.

Final Photomontages


These are my two photomontages I created with Adobe Bridge and Photoshop. They are inspired by David Hockney which he called them "Joiners". I created them by taking multiple pictures at different angles and height. Then putting them together and creating one image out of the many images that were taken.

Spherical Panoramas

 These are my two sphereical panorama's I made in photoshop. The way I created this was by taking multiple pictures from left to right then. I used adobe bridge to customize the photos for photoshop. Then in photoshop to create the panorama you must join the photos using photoshop's photo merge to create the panorama. After creating the panorama you can adjust and resize the panorama to 5000 to 5000 so that it's square. Once you are done use the polar filter